Home
Gallery 1
Gallery 2
Gallery 3
Bio
Contact
Home
Gallery 1
Gallery 2
Gallery 3
Bio
Contact
Top
Home
Gallery 1
Gallery 2
Gallery 3
Bio
Contact
Gallery 1
1
...
18
19
20
21
22
...
24
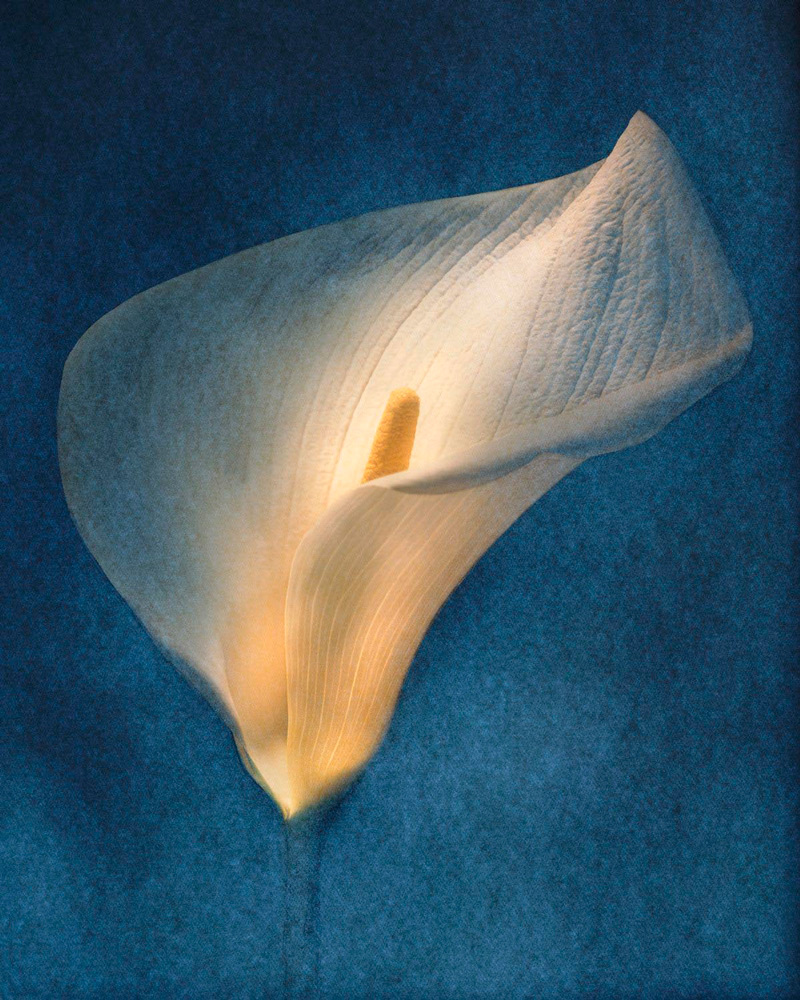
All images © David Holt Photography all rights reserved